Showing posts with label Woolworths. Show all posts

10 July 2012

The truth, about my curry...

Someone once told me, life is too short to grind your own spices. Some of the best cooking advice I've ever had in fact. If something is available, that makes life simpler, easier and still equally as delicious. Use it. 

I will admit curry is not my favourite dish to make. Don't get me wrong, I love a good curry as much as the next person. But making it, well, I just don't have the energy.

Searching for the perfect spices, grinding, blending, getting that paste to the perfect consistency, I would rather bake macaroons for hours and whisk eggs into fluffy goodness. Curry, not so much.

But along with winter comes the craving for hot, saucy curry dripping over a mound of steaming rice, so I buckled and got cracking. I must warn you though -  I cheat. Yes. I cheat when it comes to curry :)

This recipe isn’t mine. And it isn’t from some fancy recipe book either. It is Woolworths’ Butter Chicken Curry, just presented and paired the way I like it. The person mentioned above (life being too short to make your own curry paste), also reminded me that we do not live in 14th Century India, we have the convenience of fabulous shops. Use them. And, believe me... I do! 

Butter Chicken Bunny Chows
Serves 3-4 depending on how hungry you are :)

As a standard I double the recipe, but the recipe below is the standard single version. Doubling is very easy, just double all the ingredients, and ensure adequate cooking time for all the chicken. Don't think that you have to double the time cooking the chicken, just cook it as per normal, making sure it’s not under cooked (pink and watery on the side) and not rubbery and overcooked. 

Ingredients:
  • 1x Packet Woolworths Butter Chicken Curry Paste
  • 400g Skinless chicken breasts 
  • 1x Tin of Tomato's
  • 125ml Cream
  • 50g Butter
  • Fresh Coriander
  • Mango / Banana
  • Poppadum’s
  • Chutney
  • Toasted Cashew Nuts
  • Olive Oil
  • Cooked Basmati Rice
  • Woolworths Heat and Eat rolls

The Good's. Image my own. 

Method:
You will need a heavy based pot or pan, in which to cook the curry. I am completely biased towards Le Creuset, and always go for my 30cm buffet casserole pot.


La Creuset. Makes me happy. 

Empty the paste into the pan, add a dash of olive oil and fry the paste for 1-2min until it is completely warmed through.


Paste. Tomato. Curry Goodness. Images my own.

Add the tin of tomato's and stir into the paste, until evenly mixed through. Set the stove to a medium heat and let this mixture simmer for 10min.

In the meantime, slice the chicken into bite size strips. 


Chop Chop. Images my own. 

Once the curry paste mixture has cooked for the 10min, pop the chicken strips in and ensure all the chicken is covered.


10min. Starting. Now. 

You now need to let the chicken cook in the sauce for about 10-15min under cooked, but still tender. 

The extras:

- Don't forget to cook the rice. I always use Tastic Basmati Rice. Microwave or stove, your choice.
- Slice up some fresh Mango and Banana, pop into a bowl with a squeeze of lemon juice on it.
- I can't eat home-made curry without chutney – also your choice.
- I buy the dried poppadums from PnP which are easily puffed up on the stove top –wait until the oil is very hot and then be VERY quick otherwise they burn easily.

Once the chicken is cooked through - pop in the cream, and stir in, letting it streak its white goodness throughout the curry – it doesn’t necessarily need to be mixed right in.


And then. The cream. It's worth it. Believe me. 


Once your heat and eat rolls are hot out of the over, cut a small hole in the top of the roll – discarding the piece. Place the roll on a clean warm plate and place the roll in the centre of the plate. Slowly spoon your delicious curry into the hole, letting is drip down the sides of the roll. Plop a small portion of rice onto the place, as well as a little bunch of coriander leaves, scatter your toasted cashews over the top of the curry, and serve while steaming hot.


My cheat is complete. Images my own. 


I have to say – this one is a winner at my table. It warms the cockles of your heart...try it, you’ll see.

Stay warm in this weather and drive safe

C xx


13 June 2012

That Barry White Moment...

It’s that moment. That moment that you set eyes on a hot plate of something delicious.

You start salivating and you can quite literally hear Barry White playing in your head. Listen closely…. 


My comfort food theme song. Source YouTube


Strange? Yes! A welcome emotion on a cold day? Yes!

Know what I’m talking about? (you all scream Yes!)

Comfort food...mmmmm. After a busy couple of days, and some very chilly weather, last night felt the perfect night for some good old fashioned comfort food.

If you want the official Little Kitchen definition for comfort food it’s rich, saucy, delicious and absolutely loaded with carbs ;) It can usually partner with a good bottle of red wine like they are long lost soul mates, and it has to involve a couch somewhere along the line. That’s comfort food. And so is this:

Spicy Sausage and Mushroom Pasta
Serves 4. Okay who am I kidding? Serves 2 ;)

Ingredients

  • 500g Pasta - I used the bow-tie one, but Penne will be just as good.
  • 1 Chorizo sausage - I used the Woolworths one - delicious
  • 500g Lean beef mince
  • 1 Punnet of button mushrooms
  • Fresh Basil
  • Fresh chili
  • Fresh Garlic
  • Olive Oil
  • Mozzarella
  • Salt and Pepper
  • 1 400g tin of chopped and peeled 
 Ready...Steady...Cook! Images my own.


Method

Heat the oven to 180 Degrees. 

Add chopped garlic and a pinch of chili depending on your taste into a warm pan with some olive oil, and gently fry. Be careful not to burn the garlic, it will be all you can taste.

Once this mixture is browning nicely, add about a tablespoon of hand torn fresh basil. Someone once told me that torn herbs hold their flavour much more than chopped or cut herbs. Not sure how true this is, but it feels creative so go with it!

Fry lightly in the olive oil until it smells and looks delicious. Be careful not to dry out the basil leaves, they should still be shiny with Oil. 


The base flavours are often the most important. Images my own. 


Slice up the button mushrooms and add to the herbs and garlic, stir so that they are evenly covered. Remember the trick with mushrooms, don't ever wash them, as they absorb monumental amounts of water. If they are dirty rub them down with some kitchen towel or invest in one of those fancy little mushroom brushes. Just don't wash them. Put a handful of mushrooms in at a time, I find that if you put them all in together they release liquid and go all soggy. Not ideal.

Get your water for the pasta on to boil. Pinch of Salt in the water, and get it boiling. 


The prep. Images my own. 


Next... get going with your Chorizo. I find working with Chorizo extremely tough, I end up eating most it before it even gets to the board. Try and resist!

I traditionally buy the Woolworths Chorizo, but there is no denying that it is a pricey purchase. You can swop this with spicy Spanish sausages or add regular sausage meat and generously add in smoked paprika and extra chili. 

Chop the Chorizo into bite size pieces and pop them into a blender, to grind them up. If you don't have a blender, don't panic. Slice and dice the sausage into small pieces which will mix well with the Beef mince. 


Life is too short grind a Chorizo by hand. Images my own. 


Add the Chorizo to the cooked mushrooms, stir and let simmer for about 5min. 

Make sure the pan doesn't become too dry, add a splash of Olive Oil if the contents start to stick. 

Pop in the mince, and give it a good stir, mixing the mince, chorizo, mushrooms and herbs. Make sure the mince browns evenly. Add salt and pepper to taste. Add the tin of tomato paste and one tin of chopped and peeled tomatoes. Stir and simmer until evenly mixed and looking delicious. ABout 8-10min depending on the heat of your stove. 

Don't forget about your water on the boil. Once it has come to a fast boil, pop your pasta in and give it a good stir. Depending on what your pot is like, I often add the tiniest dash of olive oil into the water to ensure it doesn't stick together. This really isn't a hard and fast rule, all depends how I'm feeling and how the pasta is looking. Sticky pasta is my worst.

Once the pasta is Al Dente (not mushy, cooked, but still firm). Drain using a colander and stir into the meat mixture and simmer for about 2min.


All coming together. Images my own.


Grate some cheese, I used mozzarella, sprinkle generously on top. Pop in the oven for 10min until the cheese is melted. 

Cheese. Glorious Cheese. Images my own. 


Serve with fresh rocket, extra chili and if you managed to avoiding polishing off the Chorizo, add some extra slices of Chorizo to top it off.


Out of the oven. Into bowls. Into hungry tummies. Images my own.


I’m desperate for feedback on the blog, so let me know if you’ve tried any of the recipes and how it went.

Alternatively hit me up with one of your comfort food favs...I am always looking for a new couch friend :)

Enjoy

xx C

24 May 2012

Red Velvet Indulgence

As you know, a couple of weekends ago, I cooked up a storm for Mother's Day, click here for more on that. As part of my gift, my mum got to pick something delicious for dinner - she picked Red Velvet Cupcakes. 

Now, if you've ever had a Red Velvet Cake or cupcake you'll know why she picked it, and if you haven't, well here is a super simple recipe to get you started!

Red Velvet Cupcakes
Cakes to Celebrate Love and Life


This is a fabulous recipe book, I've baked a number of delicious treats out of here, and every recipe just gets better and better. A must for anyone who has a sweet tooth.


Cakes to celebrate love and life, by Callie Maritz and Mari-Louis Guy - Image my own


Ingredients:


  • 2 1/2 Cups flour
  • 1 1/2 Cups sugar
  • 1t Bicarbonate of soda
  • 1t Cocoa powder
  • 1t Salt
  • 1 Cup buttermilk
  • 2 Eggs, at room temperature
  • 1 1/2 Cups vegetable oil
  • 1t White vinegar
  • 5t Red food colouring
  • 1t Vanilla essence
  • 1 x Quantity Cream Cheese Icing

Equipment:

  • Makes 24 Cupcakes , or
  • Three-layer 18cm cake tin , or
  • 23 Single layer cake tin

Method:

Preheat the oven to 180C. Prepare your choice of baking pan as mentioned above. In a large mixing bowl sift the flour, sugar, bicarbonate of soda, cocoa powder and salt together.

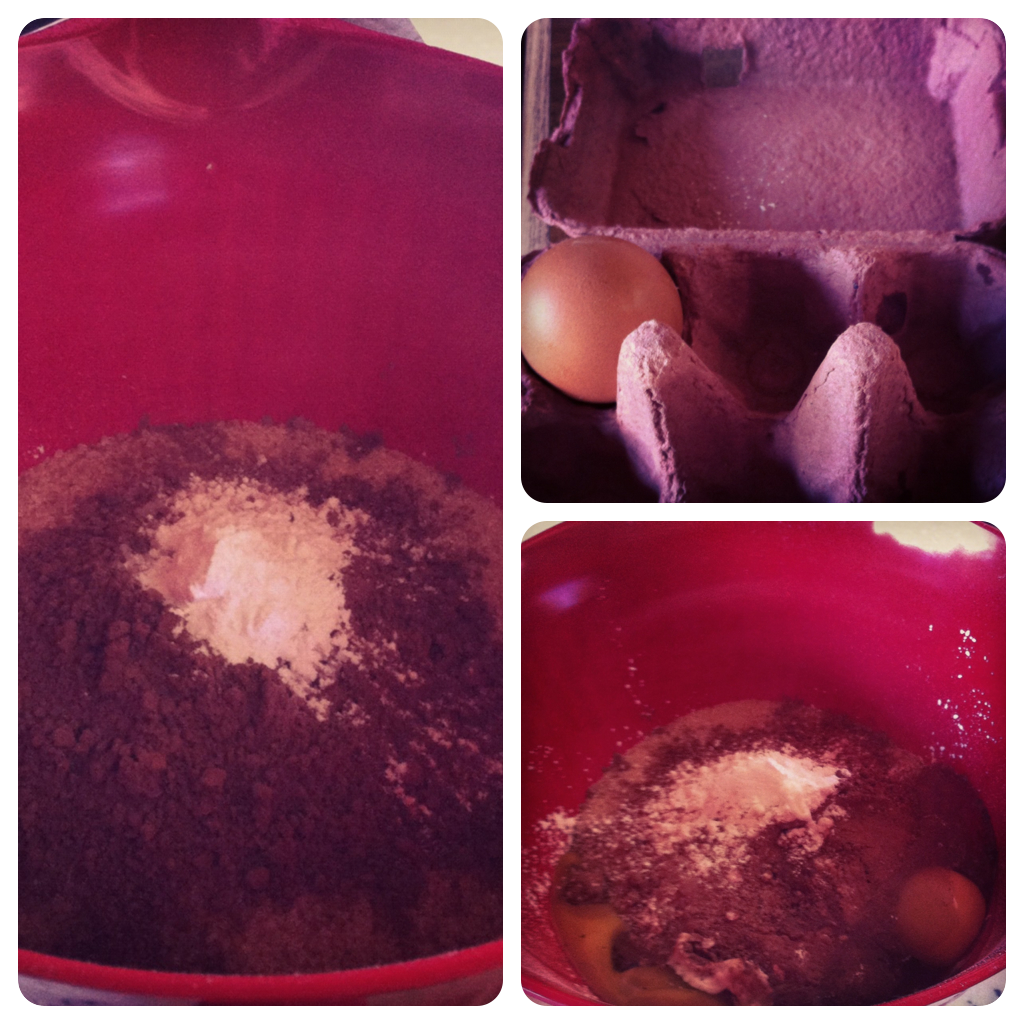
In another mixing bowl combine the buttermilk, eggs, oil, vinegar, food colouring and vanilla essence.


Everything in, before the mixing begins.


Mix the flour mixture into the buttermilk mixture.

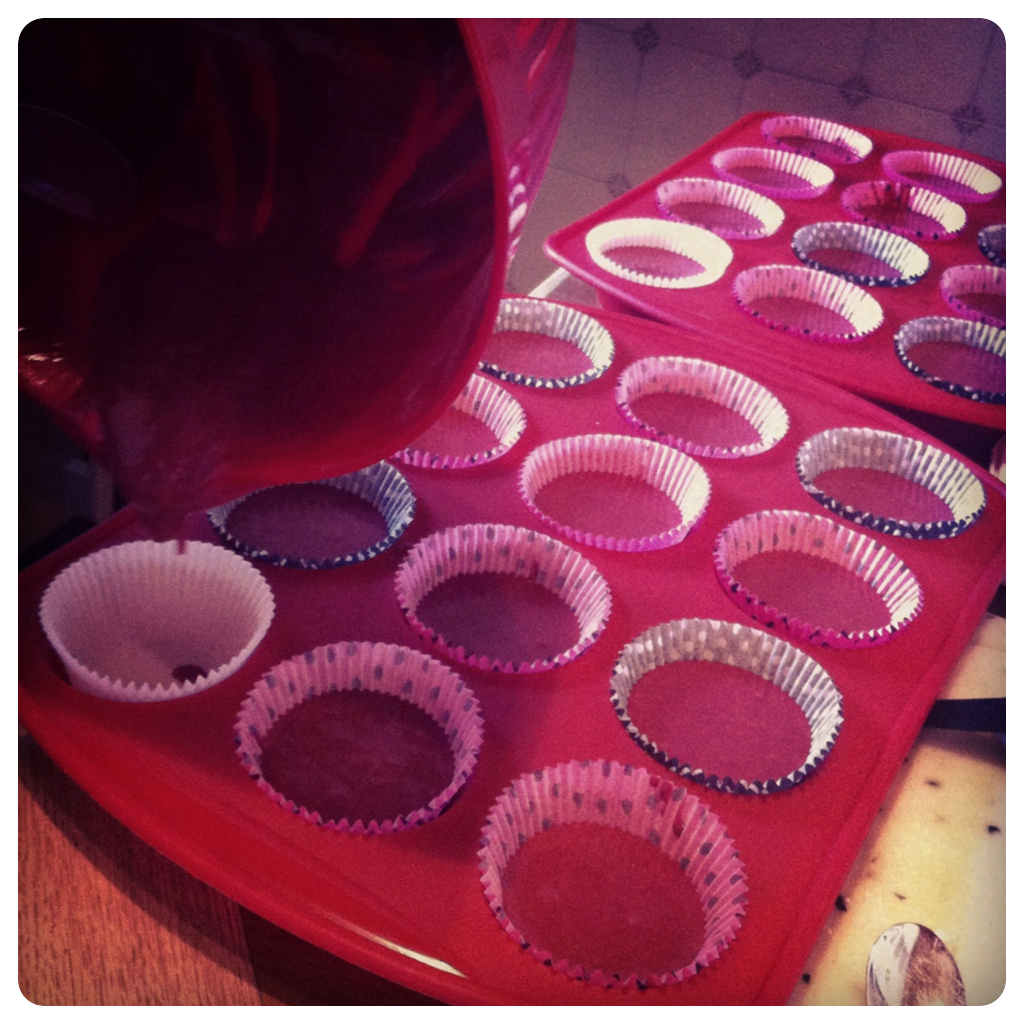
Pour the batter into the prepared pan or bake for 30 - 35 minutes for a large cake, and 18 - 20 minutes for cupcakes - please note this is entirely dependent on your oven. Please keep checking, burnt cake is the saddest thing ever.


I love cute cupcake holders - these are from Woolworths. 


When the cupcakes are done, leave to cool in a non drafty spot.


Warm out of the oven. Yum.


Now, I was very silly, because after the fresh from the oven pic, the kitchen went a little haywire with Soup, Steak, Sauces, Salads and Potato's and I just didn't have a moment to show a step by step for the icing. But it really is a piece of cake {hehe, see what I did there}


Icing:


Ingredients:
  • 1 Tub firm cream cheese
  • 250g Butter, softened
  • 2 Cups icing sugar, sifted
  • 1t Vanilla essence

Method:

In the bowl of an electric mixer with the paddle attachment, beat the cream cheese and butter until light and fluffy. Add the icing sugar and beat through. Add the vanilla essence and beat until just combined. Keep tasting the icing, I find that if it's a little too sweet, I add a little bit of lemon juice or lemon rind. You don't want it too lemony, keep tasting and you'll know when it's just right.

I leave the icing in the fridge while the cupcakes are cooling.

Spoon the icing into the icing bag, and pipe the icing on. I use a traditional cake icing bag, which I got from Banks Catering in Woodstock, check out their website here.  

Simple, easy, delicious. 

Due to the hustle and bustle of that day of cooking, I didn't even get a pic of the final cupcakes. 

Below are some gorgeous Red Velvet Cupcakes, which inspire me. Mine looked quite similar, but maybe not as professional, and more on the "home-baked with love" side. But they don't last long in our household, so it doesn't really matter.


                        Gorgeous. Image from Pinterest


Let me know if you've tried Red Velvet as either Cake or Cupcakes, 
or what your favourite cake is. I'd love to hear from you!


xx C